Creating a GitHub Pages site with Jekyll
Creating your site
-
Clone the repository that you created before to your local machine.
- Change directories to the repository.
$ cd REPOSITORY-NAME # Changes the working directory - If you choose to publish your site from the gh-pages branch, create and checkout the gh-pages branch.
$ git checkout --orphan gh-pages # Creates a new branch, with no history or contents, called gh-pages and switches to the gh-pages branch - Create a new Jekyll site at
./docsjekyll new docs - Change into your new directory.
cd docs - Open the Gemfile, then add the following code to the end of the file.
gem "webrick", "~> 1.7" - Install the bundler
gems.gem install bundler - Build the site and make it available on a local server.
bundle exec jekyll serve -
Browse to http://localhost:4000
- Optionally, make any necessary edits to the
_config.ymlfile.title: Quang's Tech Blog email: quang.sunlight@gmail.com - Add and commit your work.
git add . git commit -m 'Initial GitHub pages site with Jekyll' - Push to GitHub.
git push -u origin gh-pages -
On GitHub, navigate to your site’s repository.
-
Under your repository name, click Settings.

-
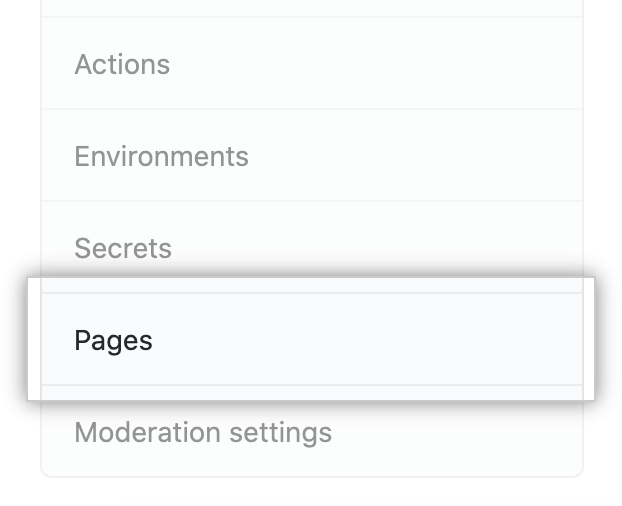
In the left sidebar, click Pages.
-
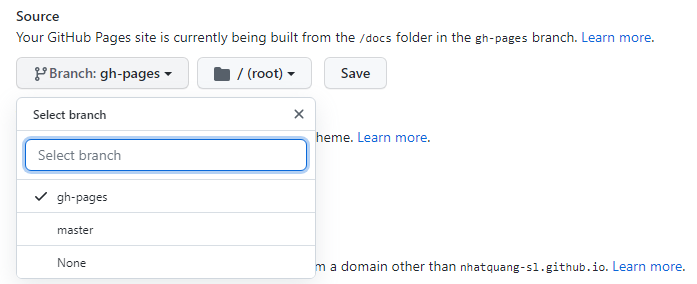
Under “GitHub Pages”, select gh-pages on Branch drop-down menu.
-
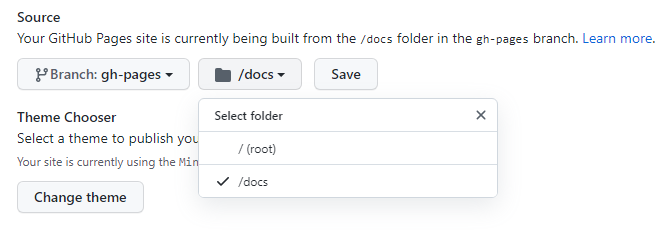
Select /docs folder for your publishing source.
-
Click Save.
- To see your published site, under “GitHub Pages”, click your site’s URL.
